
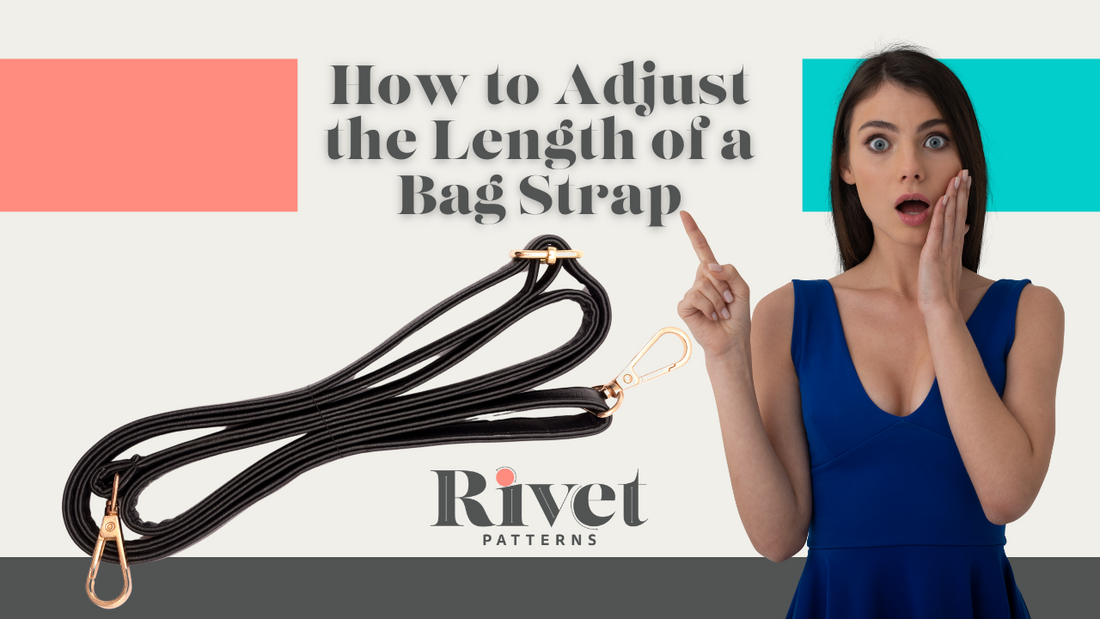
Are you making the Rivet Patterns Harmony Belt Bag & Purse for a person that measures outside the range listed in the pattern? If so, I'm here for you! Let's learn how to adjust this strap.
It's pretty simple, really, but lets start with the finished minimum/maximum circumference for each size as it's listed in the tutorial:

Let's get to measuring!
Below is a diagram of how to measure. You'll want to take both of those measurements so that you can wear your Harmony Belt Bag both ways (at the belt and across the body.

Here's how it's done:
- First we'll measure for the cross body. Measure from one shoulder down, across the body, and up the back to meet the measuring tape end. Adjust to your liking. Write the measurement down.
- Measure where the belt bag will sit. This isn't really at the natural waist. It's generally where a belt would sit. Many people like it to sit on the hips but that totally up to you. Measure around your body and write it down.
- If both of the measurements fit within the size you're making in the chart above then you're good to go. If not, move on the next step.
- Do the math:
- First, let's assume we're making the mini size Harmony. Next, let's say our measurement from step one is 30 and our measurement and for step two is 24.5.
- Now I'll take the minimum (37.5") and subtract my smallest measurement from it (24.5") 37.5 - 24.5 = 13"
- Next, subtract the answer above from 45" (the length of our strap) 45 - 13 = 32" That's what you'll change you strap length to. The goal is for BOTH measurements from steps one and two to fit within the new range. Once we've subtracted our 13" the finished measurements change from 37.5" - 56.5" to NOW 24.5" - 43.5". Both of our numbers fit into this range so we're good to go.
What if my measurements are bigger than the finished measurements? Well, that's pretty easy too.
- First we'll measure for the cross body. Measure from one shoulder down, across the body, and up the back to meet the measuring tape end. Adjust to your liking. Write the measurement down.
- Measure where the belt bag will sit. This isn't really at the natural waist. It's generally where a belt would sit. Many people like it to sit on the hips but that totally up to you. Measure around your body and write it down.
- If both of the measurements fit within the size you're making in the chart above then you're good to go. If not, move on the next step.
- Do the math:
- First, let's assume we're making the mini size Harmony. Next, let's say our measurement from step one is 50 and our measurement for step two is 60.
- Since our smallest measurement is within the range we don't need to look at that. Our largest measurement is 60" and finished measurement is 56.5. Let's subtract 60 - 56.5 = 3.5
- Next, add the answer above to 45" (the length of our strap) 45 + 3.5 = 48.5" That's what you'll change you strap length to. The goal is for BOTH measurements from steps one and two to fit within the new range. Once we've added out 3.5" the finished measurements change from 37.5" - 56.5" to NOW 41" - 60". Both of our numbers fit into this range so we're good to go. Feel free to add a few more inches for extra room.
Have fun making your Harmony Belt Bag & Purse!
Happy Making!
![]()
![]()
![]()
![]()
![]()
Laura